 Source Files
Adding a Repository
Each repository you add becomes a folder in Source Files, the Files app and Finder. Nothing is cloned: files are fetched from the service when you open them.
Source Files calls each repository you add a remote, which is why its menus say Change Remote and Duplicate Remote.
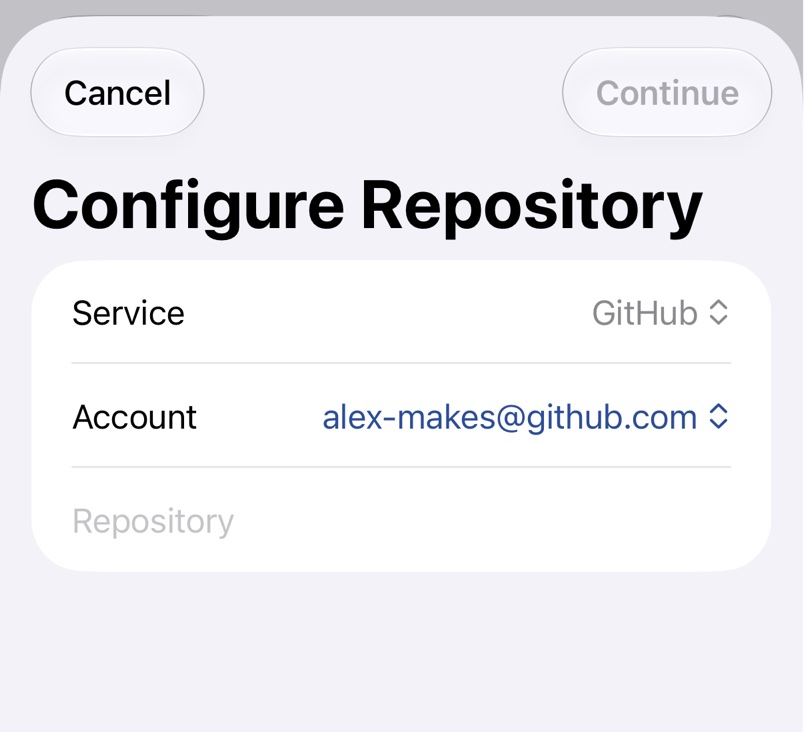
1. Pick the service and account
Tap the New Server button above the list, or the large icon while the list is empty. On a Mac, press ⌘N. In Configure Repository, pick the Service. Under Account, pick one of your accounts, Configure Account… to sign in now, or No Account for a public repository you only need to read. Signing In explains these.
2. Find the repository
With an account, Source Files lists the repositories it can reach and filters them as you type in Repository. Tap the repository, then Continue. If it isn't listed, check the account, or paste the repository's address, like https://github.com/owner/repo.
With No Account, type the address of a public repository instead.
3. Check that it works
With an account, Source Files tests the repository right away and offers Show in Files app, or Show in Finder on a Mac. Test Remote runs the test again later.
More ways
- On iPad and Mac, drag a repository link from your browser onto the list. A GitHub, GitLab, BitBucket or Gitea link gets your account for that service.
- Long-press a repository, or right-click it on a Mac, for Open in Web Browser, Copy URL, Change Remote, Duplicate Remote and Remove Remote. Branches explains how Duplicate Remote keeps two branches side by side.
For errors such as Repository not found…, see Repository Problems.